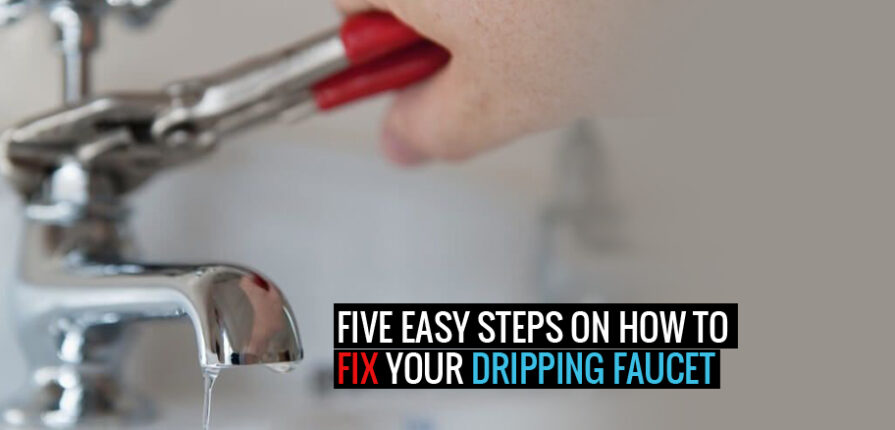
A dripping faucet is a nuisance. Anyone would go insane with the continual plop sound of water droplets hitting the sink. But there are other issues as well. A dripping faucet can affect your utility costs.
The good news is that dripping faucets are simple to repair, even if you decide to do it yourself. A faulty washer or O-ring is usually to blame for the leak. It only takes five easy steps to replace this affordable equipment. Do you need assistance with a leaky faucet?
This blog demonstrates how to fix a leaky faucet on your own.
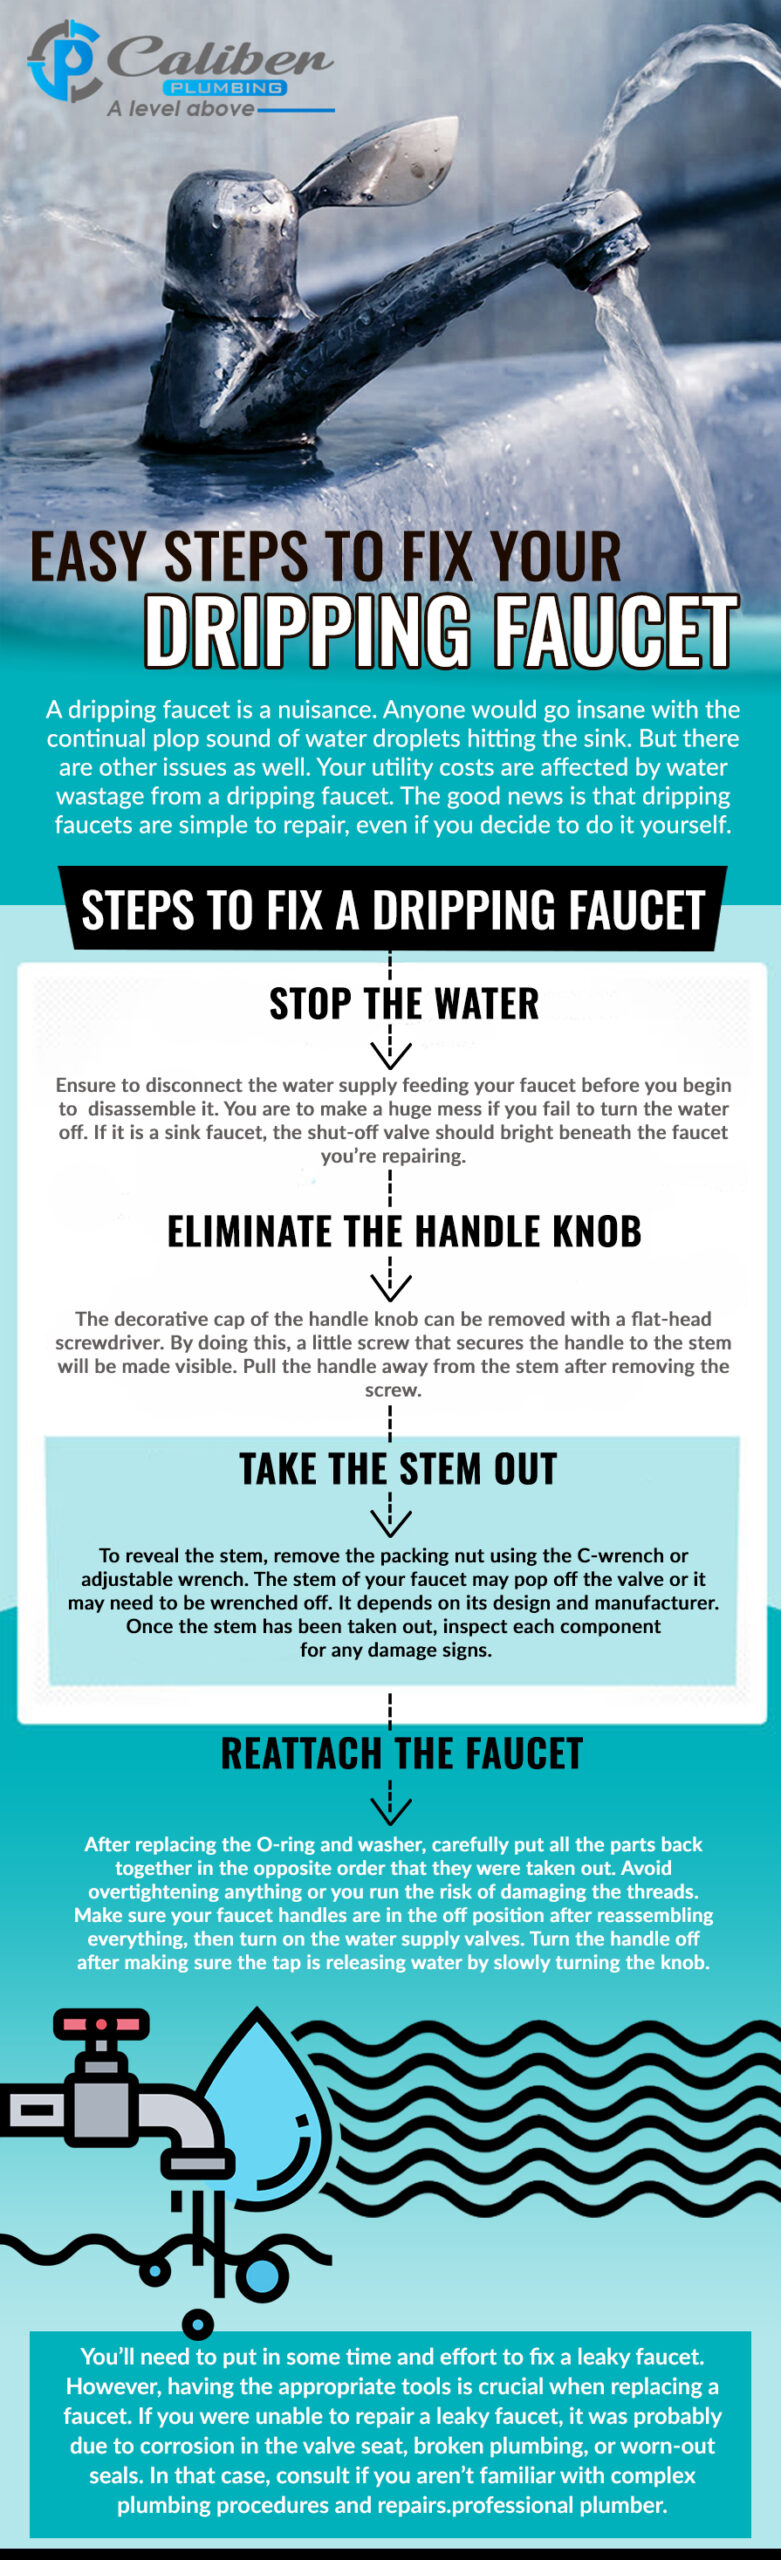
Steps to Fix a Dripping Faucet
· Stop the water
Ensure to disconnect the water supply feeding your faucet before you begin to disassemble it. You are to make a huge mess if you fail to turn the water off.
If it is a sink faucet, the shut-off valve should be right beneath the faucet you’re repairing.
Two shut-off valves will be present, one for the hot side and the other for the cold side. For closing them off, turn the knobs clockwise.
To confirm that the water flow has stopped, turn on both taps to check that no water is coming out of the faucet.
· Eliminate the handle knob
There is a small screw that secures the decorative cap of the handle knob to the stem on most hand vacuum cleaners
· Take the stem out
To reveal the stem, remove the packing nut using the C-wrench or adjustable wrench. The stem of your faucet may pop off the valve or it may need to be wrenched off. It depends on its design and manufacturer. Once the stem has been taken out, inspect each component for any damage signs.
· Replace the Washer and O-Rings
The washer is found at the base of the stem, inside the valve seat. The O-ring, on the other hand, is the slender rubber ring that surrounds the stem’s midpoint. It is always beneficial to replace both while the stem is exposed because either one could be the leak’s cause.
The replaced O-rings and washers should be an ideal fit. Take the washer and old O-ring to your neighborhood hardware store if necessary to help you make the right size selection.
· Reattach the Faucet
After replacing the O-ring and washer, carefully put all the parts back together in the opposite order that they were taken out. Avoid overtightening anything or you run the risk of damaging the threads.
Make sure your faucet handles are in the off position after reassembling everything, then turn on the water supply valves.
Turn the handle off after making sure the tap is releasing water by slowly turning the knob. Check the tap to observe whether the faucet is still leaking.
Conclusion
You’ll need to put in some time and effort to fix a leaky faucet. However, having the appropriate tools is crucial when replacing a faucet.
If you were unable to repair a leaky faucet, it was probably due to corrosion in the valve seat, broken plumbing, or worn-out seals.
In that case, consult a professional plumber like Caliber Plumbing if you aren’t familiar with complex plumbing procedures and repairs.